How to Use the MOTAR SDK for Unity
Installation of the MOTAR SDK for Unity assumes working knowledge of the Unity Editor.
This guide was made using Unity 2022.3.56 and works with Unity Editor 2022+*.
*Significant Editor changes were made in Unity 6 which alter how the Package Manager looks but not how it functions.
Installing the SDK
The MOTAR SDK for Unity is hosted on a private NPM registry and is installed via Unity’s Scoped Registries.
Open the project in the Unity Editor
Goto Edit/Project Settings [Fig 1.]
Goto Package Manager in the left hand menu [Fig 2.]
Enter a new Scoped Registry [Fig 3-4.]
Name: Dynepic
URL: https://registry.hub.motar.com
Scope(s): com.dynepic
Click SAVE
Unity will make the connection to the Dynepic registry. The loading time may vary depending on bandwidth but should only take a few seconds.
Goto Window / Package Manager [Fig 5.]
Unity will open the Package Manager window in the Packages: In Project section. [Fig 6.]
Open the Dropdown and select My Registries [Fig 7.]
If you do not see My Registries, Unity may still be trying to connect. You can click the refresh button at the bottom of the Package Manager window. [Fig 8.]
You should now see Dynepic MOTAR SDK as a registry entry.
Click Install [Fig 9.]
You may receive a popup to switch to the new Input system. This setting can be changed in the Project Settings window. Depending on your project setup, choose Yes or No.
Unity will begin downloading and installing the SDK. This may take time depending on your internet connection.
The Unity Editor may restart during this process.
Once the SDK has been installed you will see a new menu option “MOTAR SDK” [Fig 11]
To start integrating with MOTAR you will need to install the Device Sync sample package.
Installing Devices Sync / Auth
Open the Window / Package Manager
Click on Packages - Dynepic / Dynepic MOTAR SDK
Click on Samples [Fig 12.]
Locate Device Sync and click on Import [Fig 12.]
Unity will import the Device Sync samples
The Device sync will automatically add an Auth scene to your project. [Fig 13]
The auth scene is designed to be the first scene in your project but can be manually configured to come after any custom splash screens. [Fig 14]
It is highly recommended that the device sync/auth scene launch before any crucial application scenes.
Application Configuration
In order to connect your App Listing on MOTAR to your Unity application, you will need to create a configuration file.
Click on the MOTAR SDK menu [Fig 15]
A new window will appear with a MOTAR App listing entry [Fig 16]
Enter your app Client ID and Secret <link to getting info from Studio>
Once you enter the information, a Configuration file is created in your project Assets under MOTAR / Resources
This configuration links to your app in MOTAR and will allow integration with the platform.
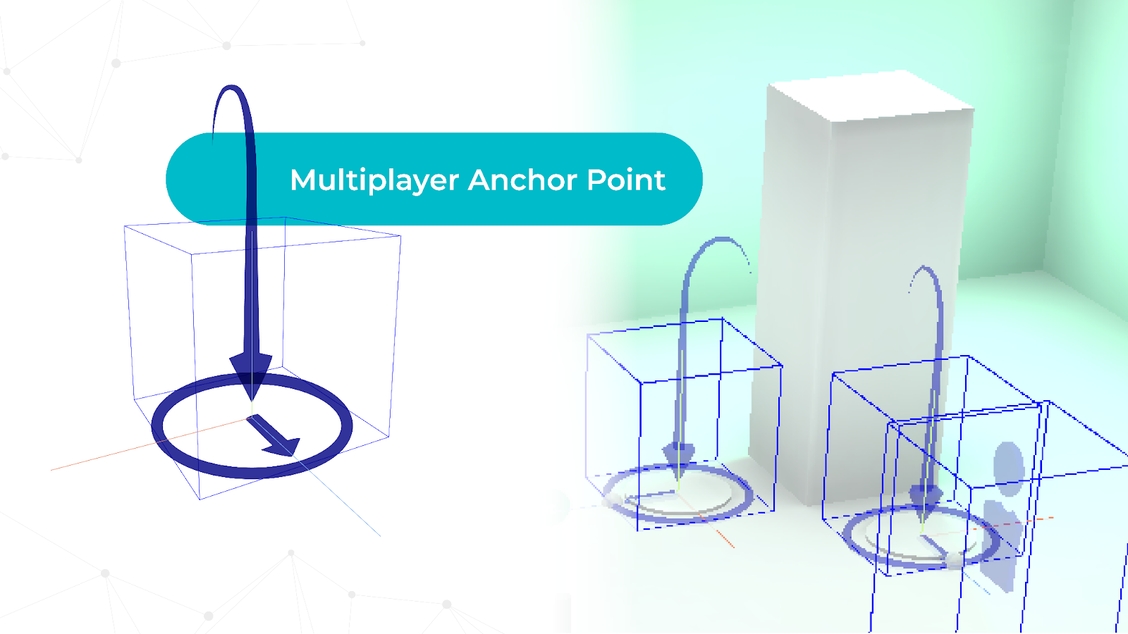
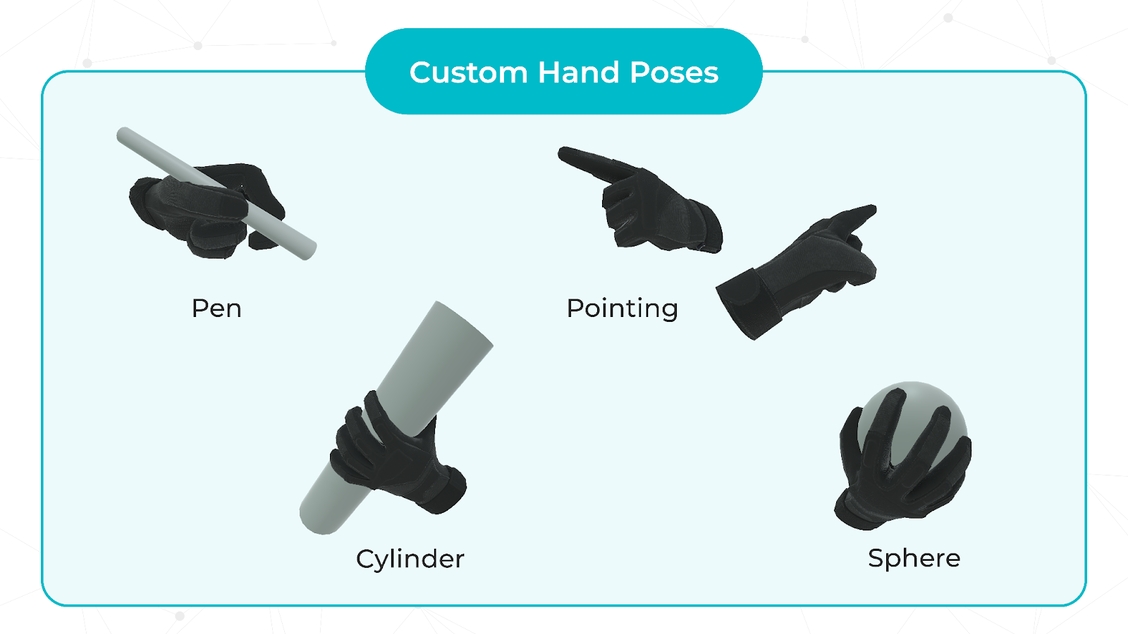
SDK Images
MOTAR SDK Avatar Package
For more information, on the MOTAR SDK for Unity Prefabs see the following link:
Please see MOTAR Lab which will walk you through the steps to build, link, and deploy an application on MOTAR with student metrics sent back to MOTAR Training (LMS).
For more information on building, linking, and deploying applications, see the link befow to visit MOTAR Lab:
For more information, on the MOTAR SDK Avatar Package see the link below:
Last updated